This post shows students and new users how to change where new content, such as documents, music, videos, and apps, is saved by default on Windows 11.
By design, all Windows content is created and saved on the Local Disk C: (This PC) drive, which has been the default location since the beginning of the modern Windows OS.
Now, you can choose where to install or save new content created in Windows 11. This is especially useful if the Local Disk C (This PC) runs low on storage space. You can also choose where new applications get installed.
With more PCs sold with two hard drives, you can utilize this feature to ensure Windows runs properly and smoothly.
On PCs with two drives, one SSD and the other larger regular drive, use this feature to install Windows 11 on the SSD drive to speed up your computer and configure the larger drive to be the default installation location for apps, music, music, and other data.
To choose where to save the new content in Windows 11, follow the steps below.
Change Default Apps Installation Path in Windows 11
Use the steps below to change the default location where apps, documents, videos, and music are installed and saved.
Windows 11 has a centralized location for the majority of its settings. Everything can be done, from system configurations to creating new users and updating Windows from its System Settings pane.
To get to System Settings, you can use the Windows key + I shortcut or click on Start ==> Settings, as shown in the image below:

Alternatively, you can use the search box on the taskbar and search for Settings. Then select to open it.
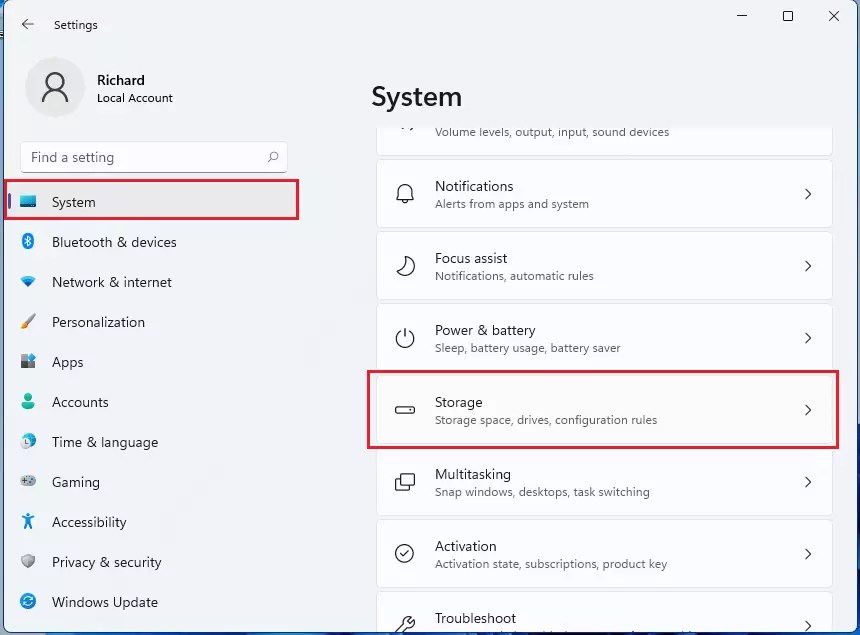
Windows Settings pane should look similar to the image below. In Windows Settings, click System, and select Storage on the right pane of your screen, as shown in the image below.
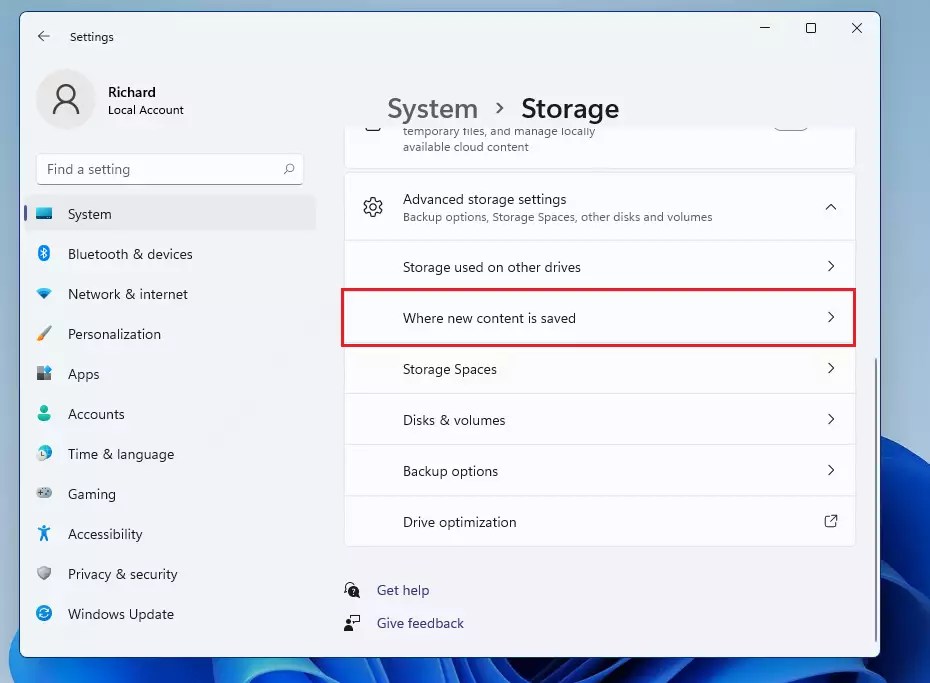
On the Storage settings pane, click Advanced storage settings, as highlighted in the image below.

Select Where new content is saved as highlighted below on the Advanced Storage setting pane.
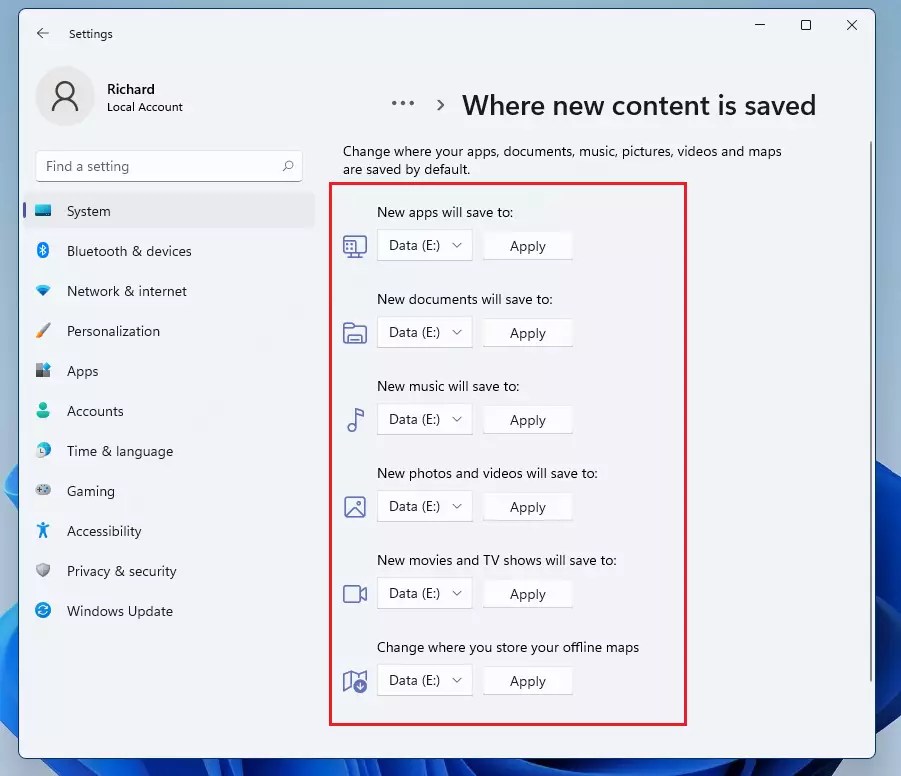
The Local Disk (C:) drive is default selected for all documents, music, pictures, videos, and maps.
If your local disk runs out of storage space and you have another larger disk installed, you can switch the default disk for all new content.

Choose a new disk drive as the default new path for new content. Remember to click Apply to make it the default location for new content.
Remember these when selecting where apps, documents, music, pictures, and videos are saved by default.
- You can only select a single location at a time for each item.
- You cannot install apps or programs on a network location
- Only new apps will be installed after the change. Existing programs do not get moved to the new location.
- You can install apps on external or thumb drives. These portable drives must always be attached to the computer for your programs installed on them to function.
- When the drives are removed, your programs will not function
That should do it!
Conclusion:
This post showed you how to change the new content path in Windows 11. If you find any error above, please use the comment form below to report.
Leave a Reply